Site Navigation
1. Introduction
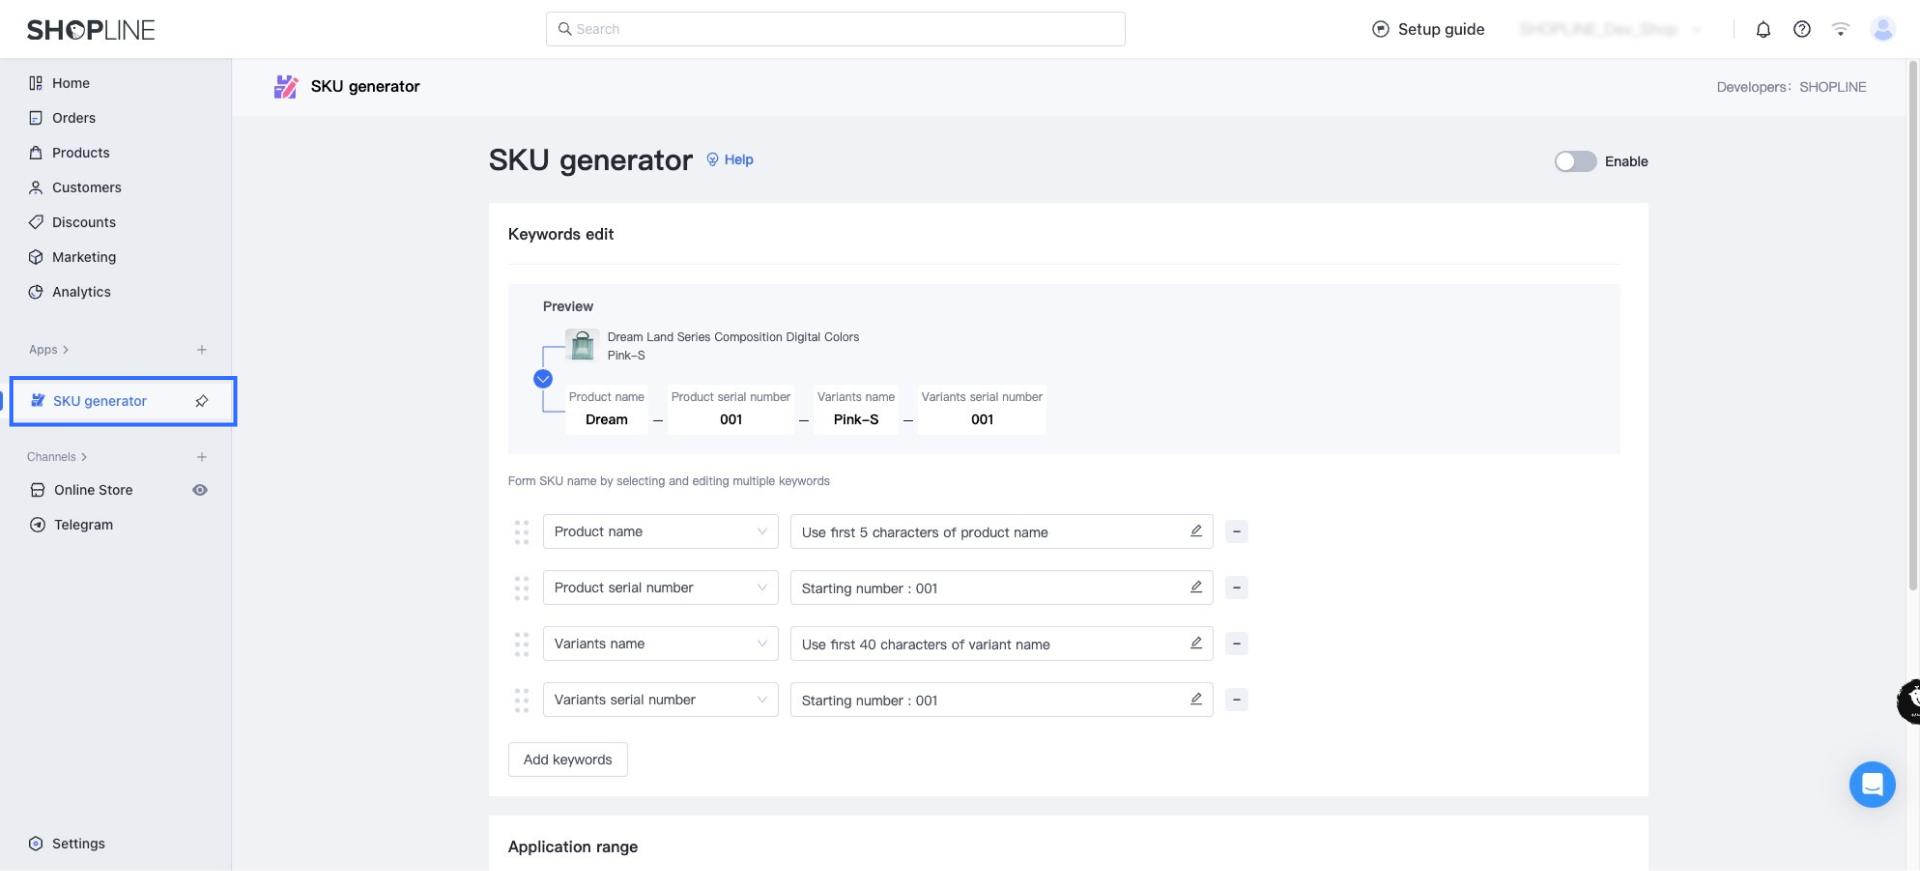
You can add a navigation link to your App in the left navigation of the store admin page, enabling merchants to easily access your app.
2. Configuration
-
Log in to Developer center and go to the Apps menu. Select the App you wish to update.

-
On the App overview page, click “Website navigation”

-
On the Website navigation configuration page, follow these steps:
- Upload a navigation icon (18x18px) that allows your App to be easily differentiated within the navigation menu.
- If required, update the primary navigation title to correspond to the name of your App.
- If applicable, add a secondary nav link and configure any additional language using the multi language configuration.

-
If providing your App in multiple languages, use the multi language configuration to add your additional navigation information.

3. Example of Merchant Use Case
Use case 1
The app supports only first-level website navigation. After the merchant opens the app or fixes the app, the first-level website navigation link of the app will be displayed in the left navigation bar of the store's background. Clicking on it will default to redirect to the app address.

Use case 2
The app supports first and second-level website navigation. After the merchant opens the app or fixes the app, the first and second-level website navigation links of the app will be displayed in the left navigation bar of the store's background. Merchants can enter different app pages by switching the navigation menu.


