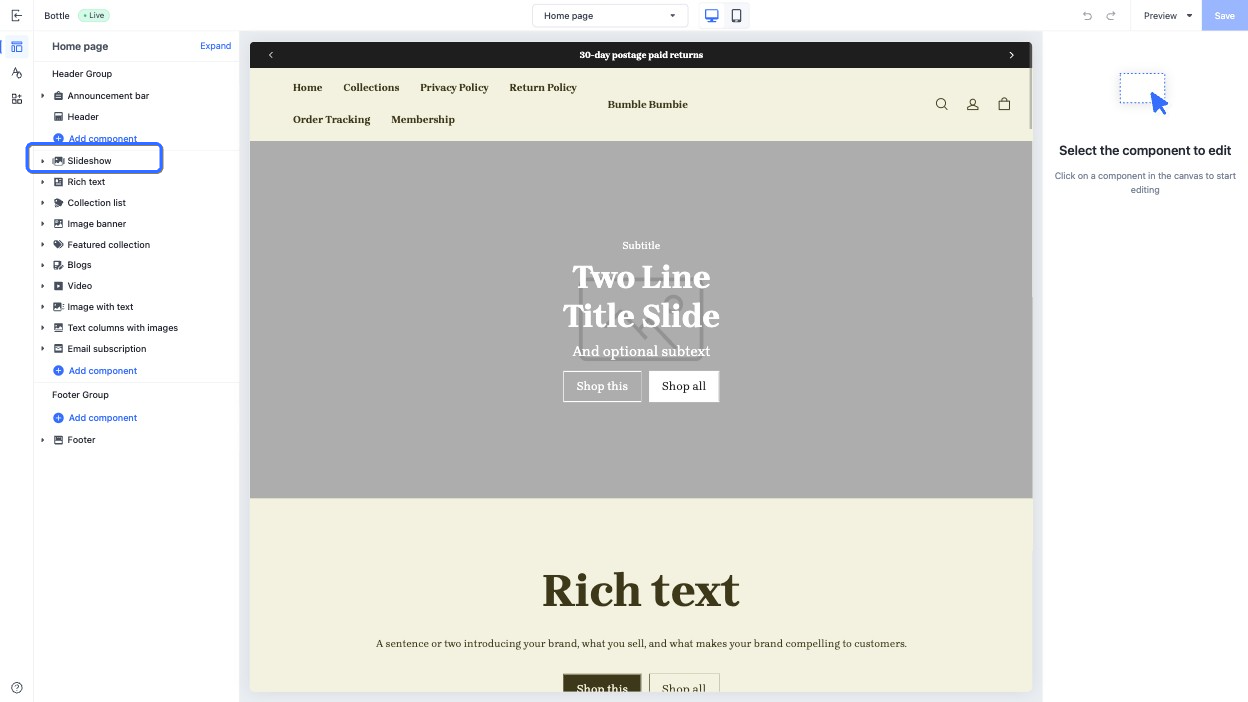
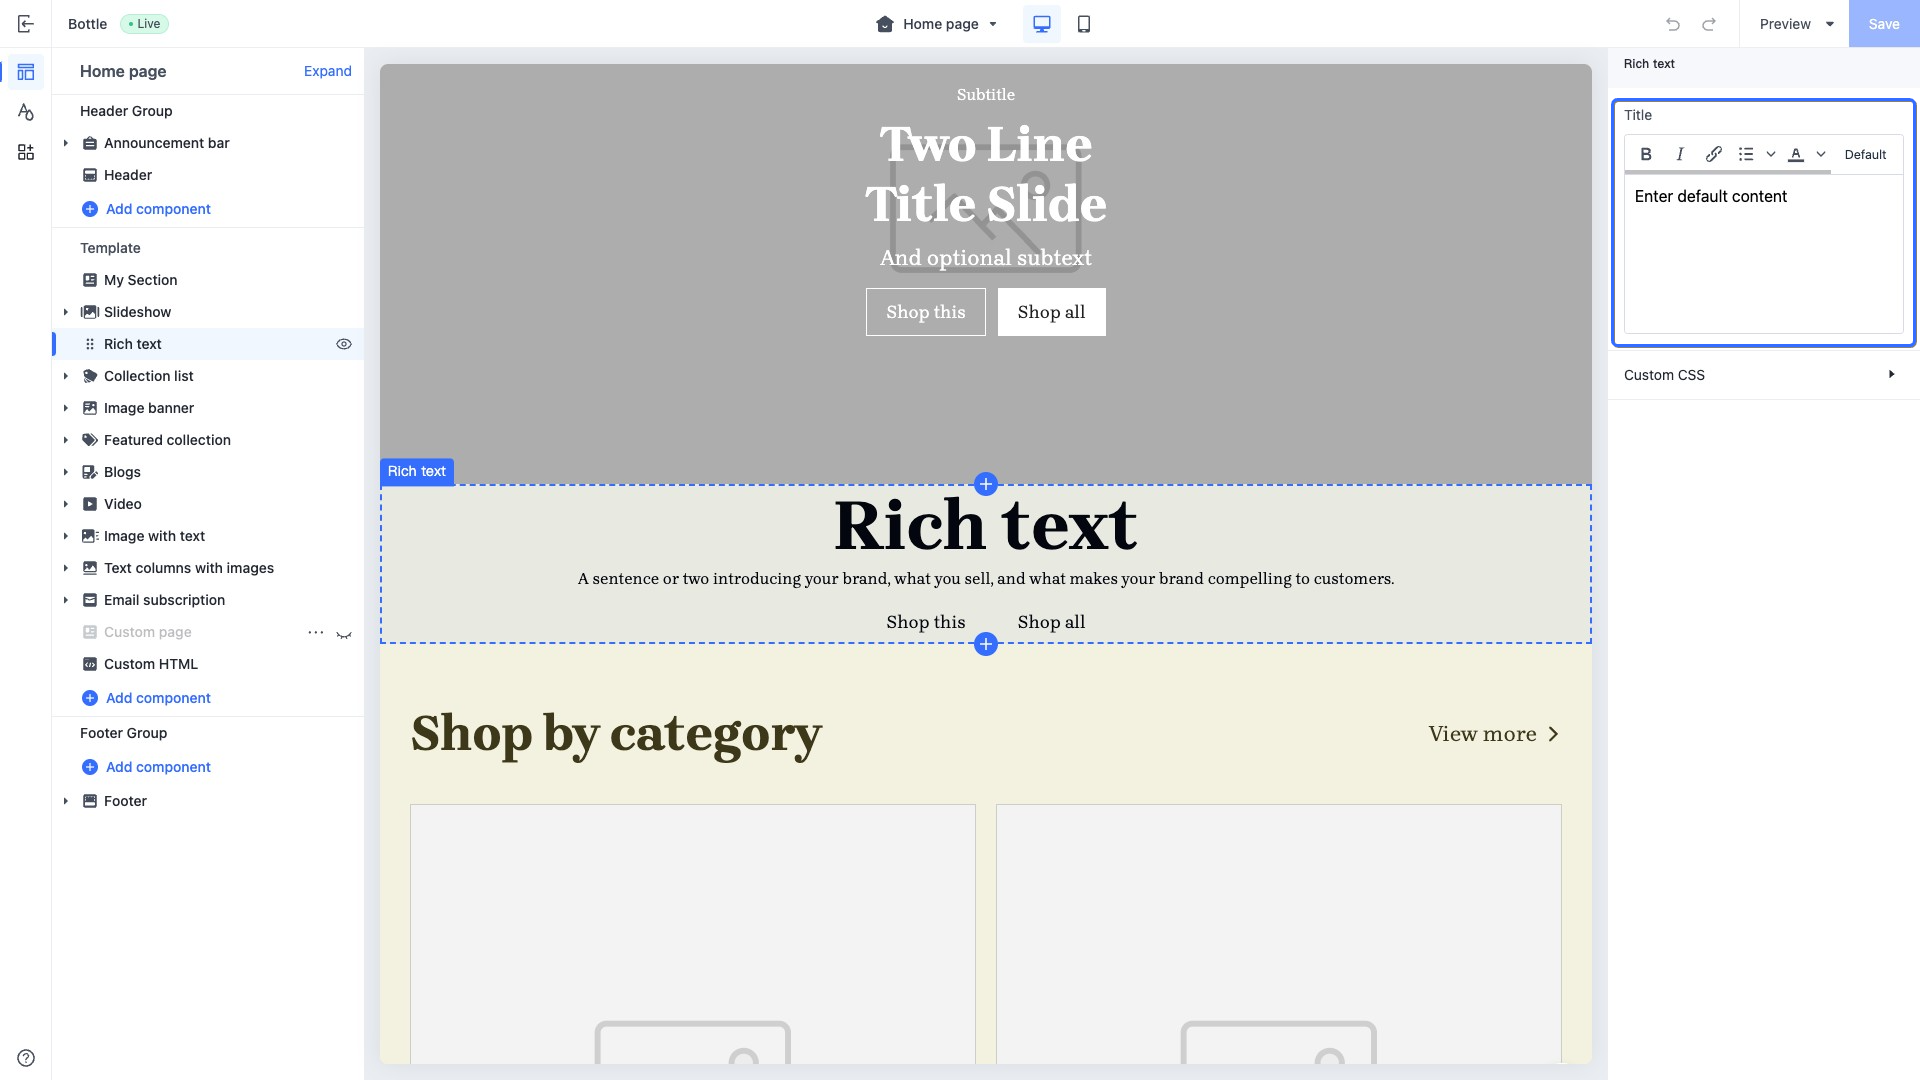
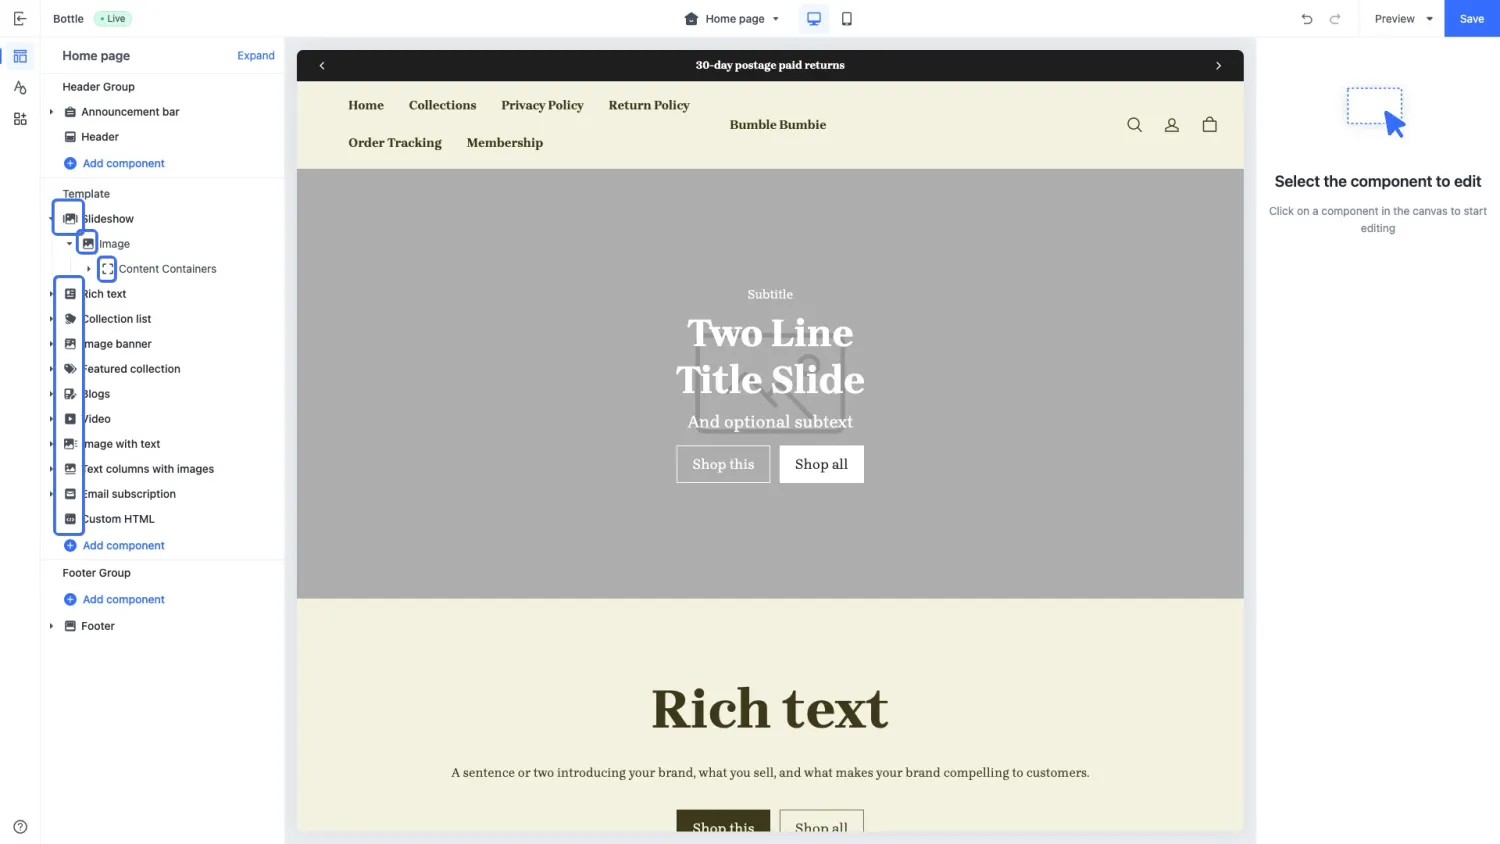
sections
The sections directory contains all sections for a theme. A section is the core element for page construction, primarily used to define the structure and functions of different page modules. Merchants can freely add, delete, move, and edit sections in a theme.
Directory structure
Within the sections directory, each section must have its unique directory, containing an .html file with the same name as the directory. A section can consist of the following three types of files:
.html(required): Used to define the HTML layout of the section..css(optional): Used to define the styling of the section..js(optional): Used to define the interaction logic of the section.
sections
├── announcement-bar
│   ├── announcement-bar.css
│   ├── announcement-bar.js
│   └── announcement-bar.html
├── blog
│   ├── blog.css
│   └── blog.html
Create a section
The .html file of each section generally contains the following two parts:
- HTML: defines the layout of the section.
- schema: defines the configuration settings of the section. These settings display in the theme editor, allowing merchants to make custom configurations.
The following parts take the featured-collection as an example, showing the steps of creating a section.
1. Add section files
Create a new directory named featured-collection under the sections directory, and then create an .html file with the same name inside the new directory. The following shows the directory structure:
sections
└── featured-collection
    └── featured-collection.html
2. Define the schema configuration
Add the schema in the featured-collection.html file.
<!-- sections/featured-collection/featured-collection.html -->
{{#schema}}
{
  "name": "featured-collection",
  "settings": [
    {
      "type": "collection",
      "id": "collection",
      "label": "collection"
    }
  ]
}
{{/schema}}
3. Render the schema configuration
In the .html file, obtain the section configuration by specifying section.settings, and use the collection control to get the collection title selected by the merchant. The ID of the section setting is collection.
The configuration example is as follows:
<!-- sections/featured-collection/featured-collection.html -->
<section>
  title: {{section.settings.collection.title}}
</section>
{{#schema}}
{
  "name": "featured-collection",
  "settings": [
    {
      "type": "collection",
      "id": "collection",
      "label": "collection"
    }
  ]
}
{{/schema}}
The output is as follows:
<section>
  title: /collections/foo
</section>
The schema declare component configurations. It cannot render any content.
Create a private block in the section
Blocks are supported within sections. You can segment a section's functionality into different blocks and assemble them in the section.
1. Add files of private blocks
The private blocks for a section must be stored in the blocks directory within the section.
Create the private block directory blocks under the sections/featured-collection section, shown as follows:
sections
└── featured-collection
    ├── featured-collection.html
    └── blocks
        ├── heading.html          # The title block
        └── product-list.html     # The product list block
2. Define the HTML layout for the block
In the heading.html block file, use the props object to obtain the text field passed in the section.
All fields in the props object are predefined parameters of the block and must be passed in externally. For example, the text field in the following sample must be provided when using the block. Otherwise, the block will fail to render properly.
<!-- sections/featured-collection/blocks/heading.html -->
<div class="heading">
  <div>{{props.text}}</div>
</div>
In the product-list.html file:
- Use the props object to obtain the
collectionfield passed in the section. - Use the get_product_pagination filter to obtain the product pagination data.
- Render the product content by using the for tag.
<!-- sections/featured-collection/blocks/product-list.html -->
{{#var products_pagination = props.collection | get_product_pagination(4) /}}
{{#var products = products_pagination.list /}}
<ul>
  {{#for product in products}}
    <li>
      <div>{{product.title}}</div>
    </li>
  {{/for}}
</ul>
3. Render blocks
After creating blocks, you can reference them in the section.
- Within the
divelement, use the blocks and block tags to render blocks. - Within the schema, add block-related fields.
<div>
  {{#blocks}}
    {{#if forblock.type == "$heading"}}
      <!-- Pass section.settings.collection.title to the heading block-->
      {{#block text=section.settings.collection.title /}}
    {{#else if forblock.type == "$product-list" /}}
      <!-- Pass section.settings.collection to the product-list block-->
      {{#block collection=section.settings.collection/}}
    {{/if}}
  {{/blocks}}
</div>
{{#schema}}
{
  "name": "featured-collection",
  "settings": [
    {
      "type": "collection",
      "id": "collection",
      "label": "collection"
    }
  ],
  "blocks": [
    {
      "type": "$heading",
      "limit": 1
    },
    {
      "type": "$product-list",
      "limit": 1
    }
  ]
}
{{/schema}}
Section group
A section group is a collection of related sections, used to manage the sections and their configurations that will render together. The section group is defined by .json files, which must be stored under the root directory sections. The directory structure example is as follows:
sections
├── header-group.json
└── footer-group.json
Schema
The following shows the JSON data specification of a section group:
{
  name: <SectionGroupName>,
  type: <SectionGroupType>,
  sections: {
    <SectionID>: {
      "type": <SectionType>,
      "disabled": <SectionDisabled>,
      "settings": {
        <SettingID>: <SettingValue>
      },
      "blocks": {
        <BlockID>: {
          "type": <BlockType>,
          "settings": {
            <SettingID>: <SettingValue>
          },
          "blocks": {
            <BlockID>: {
              "type": <BlockType>,
              "settings": {
                <SettingID>: <SettingValue>
              }
            }
          }
        }
      },
      "block_order": <BlockOrder>
    }
  },
  "order": <SectionOrder>
}
The following table explains the fields in the JSON data specification.
| Field | Data type | Required or not | Description |
|---|---|---|---|
| <SectionGroupName> | String | Yes | The name of the section group |
| <SectionGroupType> | String | Yes | The type of the section group. Valid values are: • header: the section group applied to the page header• footer: the section group applied to the page footer |
| <SectionID> | String | Yes | The global unique hash to identify a section, generated randomly. |
| <SectionType> | String | Yes | The section file name. |
| <SectionDisabled> | Boolean | No | Whether to show or hide the section. • true: hide • false: show Default value: false |
| <BlockID> | String | No | The global unique hash string to identify a block, generated randomly. |
| <BlockType> | String | No | The block file name. |
| <BlockOrder> | String[] | No | The list of <BlockID>, to identify the rendering order of blocks. |
| <SectionOrder> | String[] | No | The list of <SectionID>, to identify the rendering order of sections. |
| <SettingID> | String | No | The configuration ID, defined in the schema. |
| <SettingValue> | String | No | The configuration value, customized by the merchant. |
The following example shows the schema in header-group.json.
{
  "name": "Header Group",
  "type": "header",
  "sections": {
    "announcement-bar": {
      "type": "announcement-bar",
      "blocks": {
        "announcement-bar__item1": {
          "type": "$item"
        }
      },
      "block_order": ["announcement-bar__item1"]
    },
    "header": {
      "type": "header"
    }
  },
  "order": ["announcement-bar", "header"]
}
Using section groups
Use section groups through the sections tag.
The following example shows how to reference the header-group.json section group within the layout/theme.html file.
<!DOCTYPE html>
<html lang="{{request.locale.iso_code}}">
  <head>
    ...
  </head>
  <body>
    ...
    {{#sections "header-group" /}}
    ...
  </body>
</html>
Merchants can add, delete, and reorder sections within the section group via the theme editor.
Typically, the sections directory only includes header-group.json and footer-group.json files.
• header-group.json: the section group applied to the page header
• footer-group.json: the section group applied to the page footer
Fixed sections
Fixed sections are part of the theme that merchants cannot add, delete, or rearrange through the theme editor, such as the page header and footer. Merchants can only modify settings of these sections.
The fixed sections must be included and referenced in the layout file.
Using fixed sections
You can reference fixed sections in the layout file by using the section tag.
As shown in the following example, in the Bottle theme, fixed sections are referenced in the layout file for the password protection page.
<!-- layout/password.html -->
<!DOCTYPE html>
<html>
<head>
  {{#content "header" /}}
</head>
<body class="password-page">
  {{#section "main-password-header" /}}	<!-- Reference the fixed section main-password-header -->
  ...
  {{#content "layout" /}}
  ...
  {{#section "main-password-footer" /}}	<!-- Reference the fixed section main-password-footer -->
  {{#content "footer" /}}
</body>
</html>
Asynchronous section rendering
You can use the capability of asynchronous section rendering by sending AJAX requests to fetch specific section HTML snippets. These snippets can then be used to dynamically replace page elements and update the content without the need to reload the entire page.
For more details, refer to Section rendering API.
Section schema
Component utilize the schema to define various attributes of the section, such as the section name. The schema of a section includes the following attributes:
The schema tag is a Sline tag. It cannot render any content.
name
The name attribute defines the section title displayed in the theme editor.
The following example shows name specified in the schema.
{{#schema}}
{
  "name": "Slideshow"
}
{{/schema}}
The section title rendered in the theme editor is shown as follows:
class
When you render a section in a theme page, the section is automatically wrapped in an HTML element with the default shopline-section class. You can append the class value by defining the class attribute in the section schema.
For example, the class attribute in a section is defined as follows:
{{#schema}}
{
  "name": "Slideshow",
  "class": "slideshow"
}
{{/schema}}
Then the new HTML output is as follows, with the new class value of shopline-section slideshow.
<section id="shopline-section-[id]" class="shopline-section slideshow">
  // ...
</section>
tag
When you render a section in a theme page, the section is automatically wrapped in an HTML element, which defaults to div. You can change this HTML element using the tag attribute.For example, the tag attribute in a section is defined as follows:
{{#schema}}
{
  "name": "Slideshow",
  "tag": "section"
}
{{/schema}}
Then the new HTML output is as follows, with the wrapper element changed to section.
<section id="shopline-section-[id]" class="shopline-section slideshow">
  // ...
</section>
In a block schema, setting tag to an empty string removes the wrapper element. In this case, you must manually add the {{{ shopline_attributes }}} attribute to provide location context for the theme editor. If the wrapper is not removed, this attribute is injected automatically. For example:
{{#schema}}
{
  "name": "Slideshow-item-block",
  "tag": ""
}
{{/schema}}
settings
For detailed information about settings, refer to Control configurations.
You can create section configuration settings for merchants to customize the section in the theme editor.
Each id in settings must be unique within the section.
{{#schema}}
{
  "name": "Richtext",
  "settings": [
    {
      "type": "richtext",
      "id": "title",
      "label": "Title",
      "default": "Rich text"
    }
  ]
}
{{/schema}}
Access configuration settings
You can access configuration settings for the section via section.settings.
<div>{{ section.settings.title }}</div>
{{#schema}}
{
  "name": "Slideshow",
  "settings": [
    {
      "type": "richtext",
      "id": "title",
      "label": "Title",
      "default": "Rich text"
    }
  ]
}
{{/schema}}
blocks
You can create reusable blocks for a section. The blocks can be added, deleted, and reordered in a section.
blocks contains a list of blocks, with the following attributes:
| Attribute | Data type | Required or not | Description |
|---|---|---|---|
| type | string | Yes | The block type. The value of this attribute varies depending on the type of the block: • Public block: The value is the HTML file name of the block. For example, if the file name of the public block is blocks/heading.html, the type value is heading. • Private block: The value is the HTML file name of the block, prefixed with the symbol $. For example, if the file name of the public block is sections/blog/blocks/articles.html, the type value is $articles. • App Block: The value is fixed at @app, indicating that the block supports adding an App Block. |
| limit | number | No | The quantity of this type of block that can be used. |
{{#schema}}
{
  "name": "Slideshow",
  "blocks": [
    {
      "type": "heading-with-link/heading-with-link",
      "limit": 1
    },
    {
      "type": "product-list/list",
      "limit": 1
    }
  ]
}
{{/schema}}
max_blocks
The max_blocks attribute indicates the maximum quantity of blocks that a merchant can use in the section via the theme editor. The following shows an example:
{{#schema}}
{
  "name": "Slideshow",
	"max_blocks": 5
}
{{/schema}}
limit
The limit attribute restricts the maximum number of times a specific section type or block can be added. When configured within the component's root schema, it defines the maximum number of instances this section can have within a single page template. For example:
{{#schema}}
{
  "name": "description",
  "limit": 1
}
{{/schema}}
The configuration above indicates that this component can be added at most once within the same page template. Similarly, the limit attribute can be applied within blocks to restrict the maximum number of times a specific block type can be added inside the current section. For example:
{{#schema}}
{
  "name": "content-container",
  "blocks": [
    {
      "type": "$heading",
      "limit": 1
    },
    {
      "type": "$subheading",
      "limit": 1
    }
  ]
}
{{/schema}}
The configuration above indicates that within this section, you can add a maximum of one $heading block and a maximum of one $subheading block.
presets
The presets attribute is used to define the display of the section's preset configurations when the section is added through the theme editor.
This attribute is an array, where the number of elements in the array represents the number of preset configurations available for the section. Each section must contain at least one preset configuration.
When a merchant adds a section in the theme editor, the preset configuration of the selected section is added to the corresponding JSON Template.
If the presets attribute is not explicitly declared, the section cannot be displayed in the theme editor.
Each item in presets has the following attributes:
| Attribute | Description | Required or not |
|---|---|---|
| name | The preset name, displayed as the section name in the theme editor. | Yes |
| settings | The preset settings, stored as an object. | No |
| category | The preset category, displayed as the section category when merchants add the section in the theme editor. | No |
| blocks | A predefined set of blocks with specific configurations, automatically included when merchants add the section in the theme editor. Each block is characterized by the following fields: • type: The name of the block's HTML file, such as heading.html.• settings: The block's predefined settings, same as section preset settings. | Yes |
The following shows a presets example in a section.
{{#schema}}
{
  "name": "Slideshow",
  "settings": [
    {
      "type": "text",
      "id": "title",
      "label": "Title"
    }
  ],
  "presets": [
  	{
      "name": "Image slideshow",
    	"settings": {
      	"title": "Image"
      },
      "blocks": [
        {
          "type": "$image",
          "settings": {
            "text": "image item"
          }
        }
      ]
    }
  ]
}
{{/schema}}
icon
The icon attribute is used to display the section icon in the drag-and-drop zone in the theme editor. Valid values are as follows:
| Value | Icon to display |
|---|---|
| footer |  |
| header |  |
| testimonials |  |
| orderPlacement |  |
| products |  |
| collection |  |
| collectionList |  |
| productThumbnail |  |
| filter |  |
| featuredProduct |  |
| productHighlightWithCover |  |
| content |  |
| image |  |
| slideshow |  |
| heroImageWithTextBox |  |
| textWithImage |  |
| textColumnsWithIcons |  |
| video |  |
| logoList |  |
| imageTextGrid |  |
| timeline |  |
| campaignPromotion |  |
| footerPromotion |  |
| announcementBar |  |
| discountBanner |  |
 | |
| navigation |  |
| frequentlyAskedQuestions |  |
| code |  |
| brandList |  |
| sideColumnFilter |  |
| socialMedia |  |
| sideColumn |  |
| inquiryForm |  |
| externalLink |  |
| generalSection |  |
| company |  |
| marketSelector |  |
| cardComponent |  |
| blog |  |
| title |  |
| button |  |
| general |  |
| checkoutPage |  |
| homePage |  |
| additionalPages |  |
| shoppingCart |  |
| loyaltyPoints |  |
| toggleSwitch |  |
| starRating |  |
| date |  |
| measurement |  |
| dataReference |  |
| colorPicker |  |
| fileUpload |  |
| number |  |
| addCustomField |  |
| linkCustomField |  |
| customer |  |
| currency |  |
| productSku |  |
| vector |  |
| addButton |  |
| divider |  |
| socialMedia |  |
| gallery |  |
| discountTag |  |
| orderNotes |  |
| addToCart |  |
| abandonedCart |  |
| favoriteStar |  |
| storeIcon |  |
| groupIcon |  |
| dropdownSelect |  |
| upgradeOption |  |
| cartTotal |  |
| giftCard |  |
| userLevel |  |
The following example shows how icons are displayed in the theme editor.

'%3e%3crect%20x='6'%20y='7.13049'%20width='13'%20height='10'%20rx='1'%20fill='black'/%3e%3cpath%20d='M12.4998%2012.936L-3.65042%200.604835L28.65%200.604838L12.4998%2012.936Z'%20stroke='white'%20stroke-linejoin='round'/%3e%3c/g%3e%3cdefs%3e%3cclipPath%20id='clip0_716_14611'%3e%3crect%20x='6'%20y='7.13049'%20width='13'%20height='10'%20rx='1'%20fill='white'/%3e%3c/clipPath%3e%3c/defs%3e%3c/svg%3e)

'%3e%3crect%20x='5.63086'%20y='7.26086'%20width='13'%20height='10'%20rx='1'%20fill='white'/%3e%3cpath%20d='M12.1306%2013.0664L-4.01956%200.735206L28.2809%200.735209L12.1306%2013.0664Z'%20stroke='%231A2C42'%20stroke-linejoin='round'/%3e%3c/g%3e%3cdefs%3e%3cclipPath%20id='clip0_716_14599'%3e%3crect%20x='5.63086'%20y='7.26086'%20width='13'%20height='10'%20rx='1'%20fill='white'/%3e%3c/clipPath%3e%3c/defs%3e%3c/svg%3e)